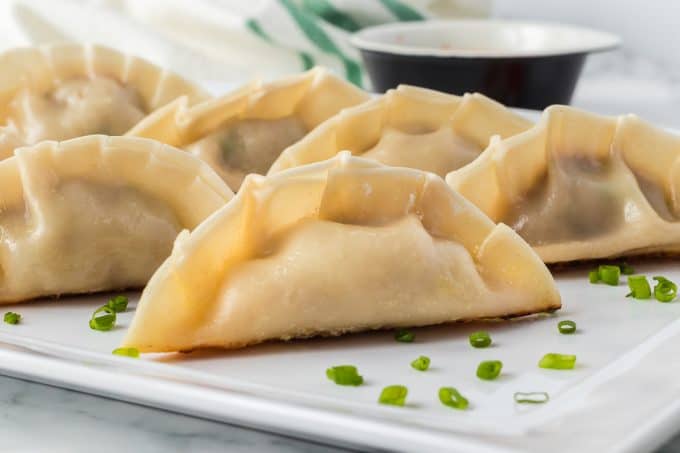
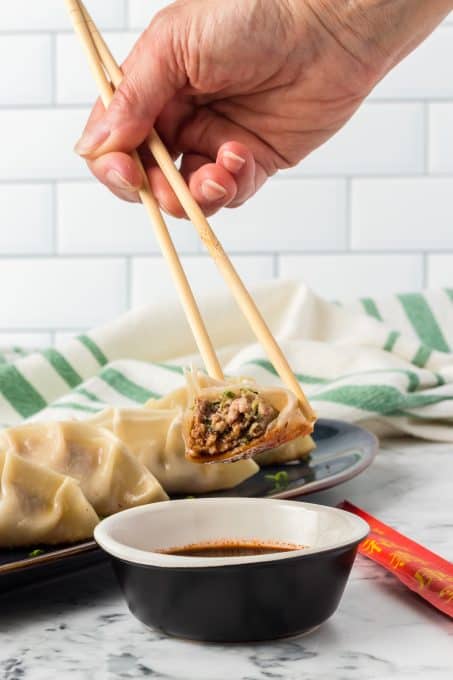
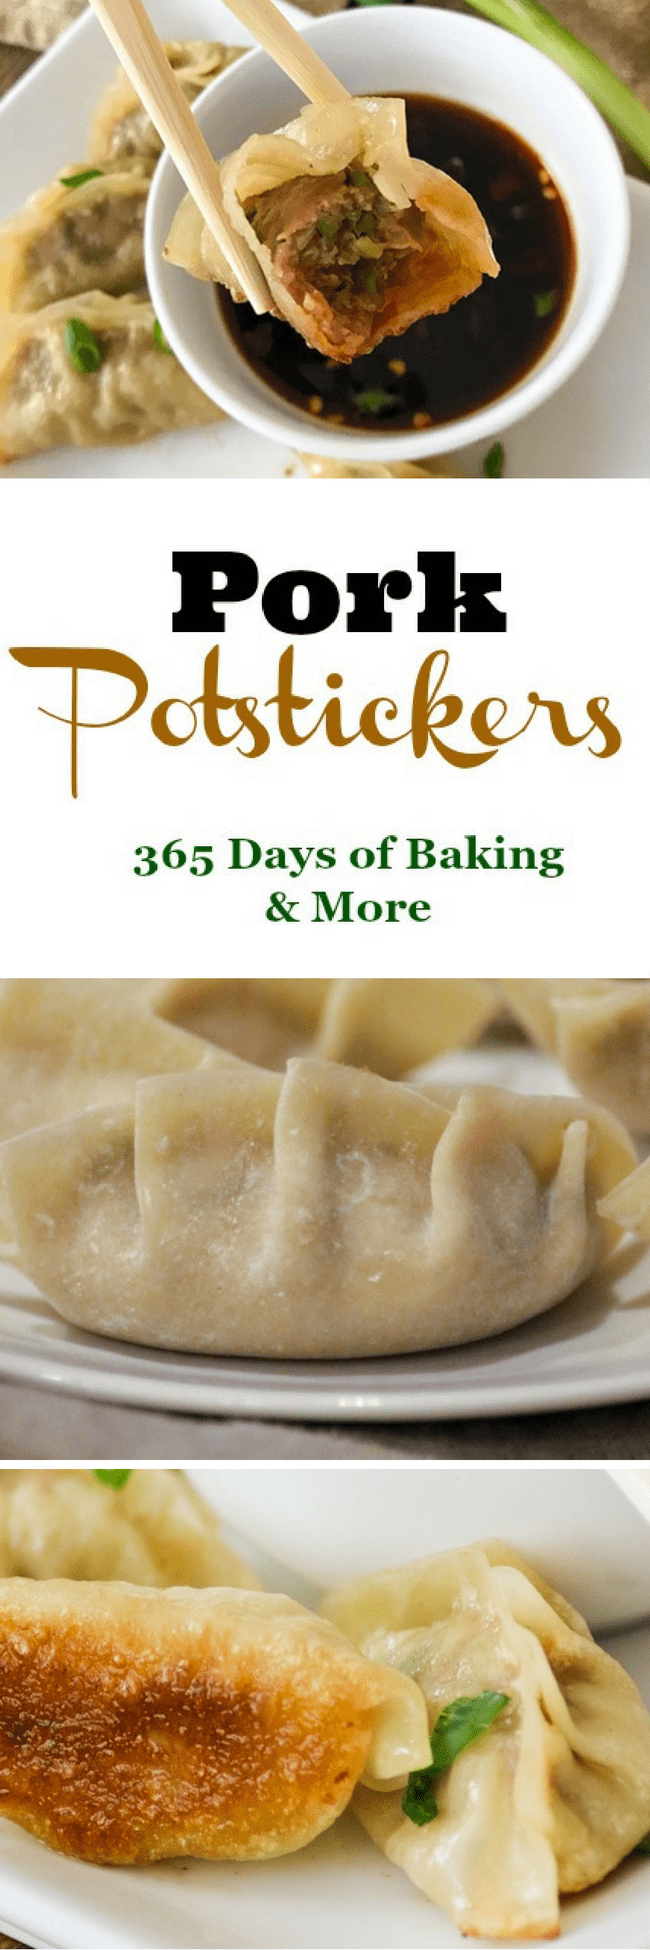
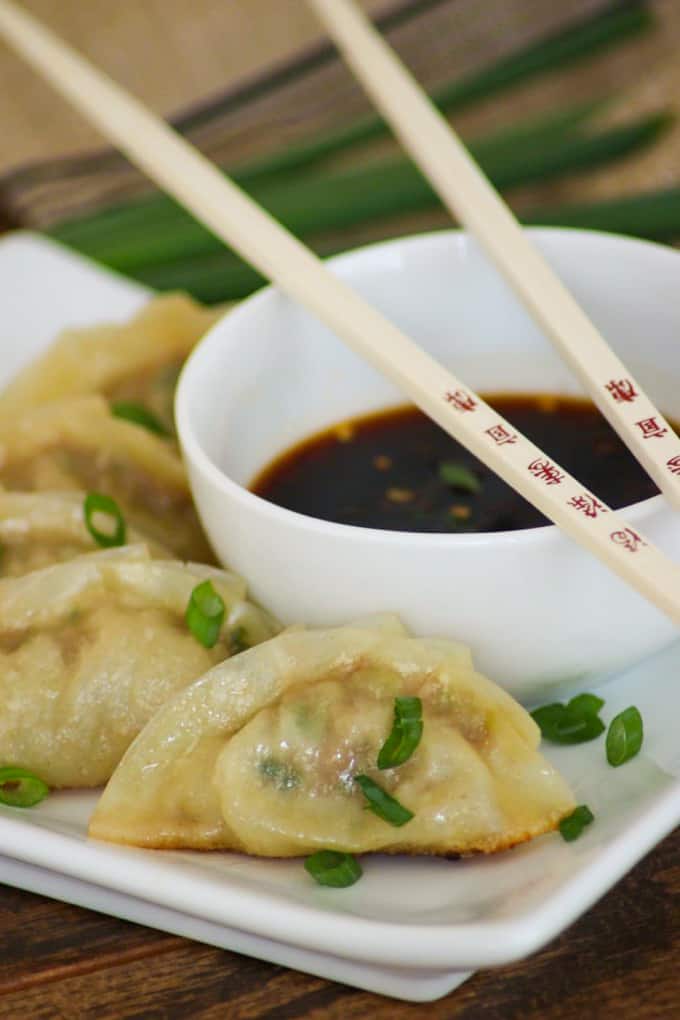
This Pork Potstickers recipe is one you’ll come back to again and again because it’s so easy! They’re made of ground pork, ginger, garlic, soy sauce, and cabbage tucked into a potsticker wrapper, fried, and then steamed. They make a delicious appetizer or main course for dinner.
I have partnered with the National Pork Board to bring you this recipe. As always, all opinions are 100% my own. I thank you for your support of 365 Days of Baking and More and of the brands I believe in and promote.
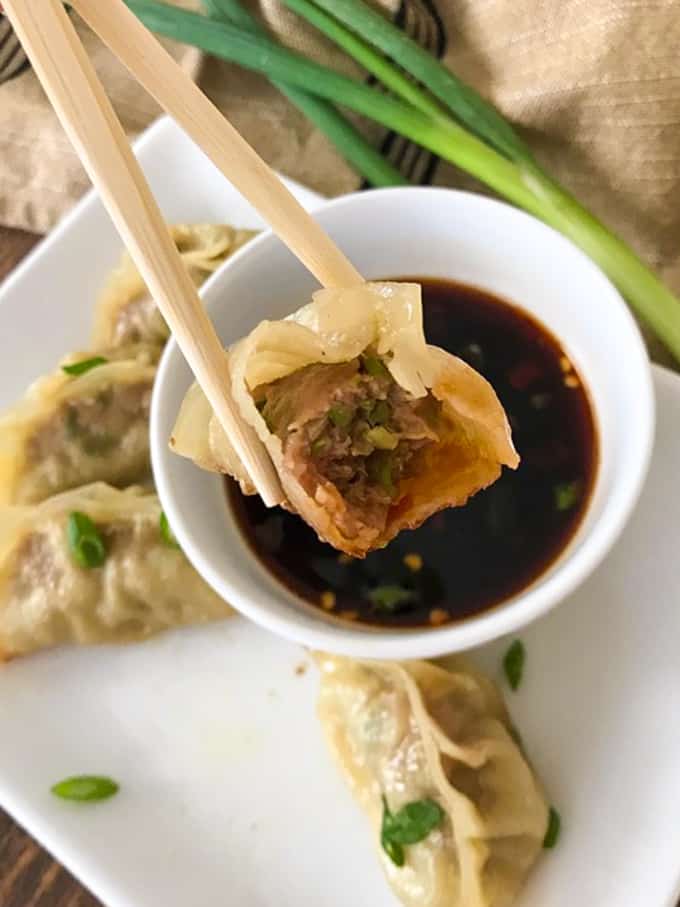
I have to say that pork potstickers are one of my favorite things to eat! I love the juicy filling inside combined with the crunch of the classic crispy bottoms. Dip them in a savory vinegar sauce and enjoy!
SAVE THESE POTSTICKERS TO YOUR FAVORITE PINTEREST BOARD!
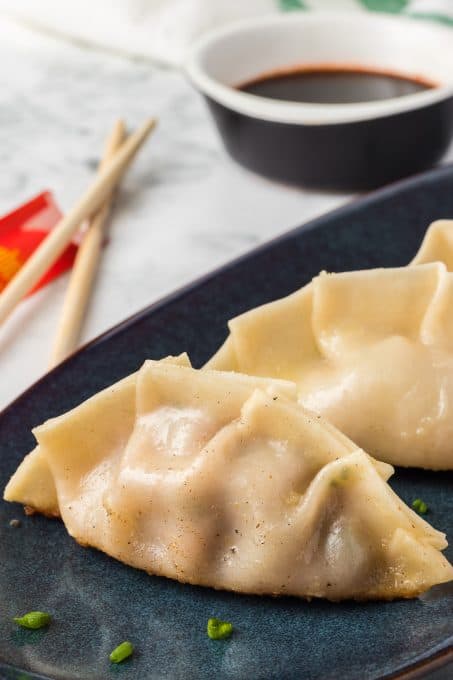
What is the difference between Potstickers, Gyoza and Dumplings?
Sometimes when we are discussing Asian cuisine, we get our terms mixed up or just get lazy and call similar things by the same name. There are notable differences, though:
Dumplings: This is a catch-all term found in all sorts of cuisines. They have a variety of fillings and can be sweet or savory. Dumplings can be cooked in various ways as well; you might have them boiled, steamed, fried, or even served in soup.
Gyoza: These are Japanese dumplings that usually contain meat and vegetables wrapped in a thin dough. They are often served steamed or pan-fried. Gyoza are smaller than a potsticker, and the dough is often thinner and more delicate.
Potstickers: These are a specific type of Chinese dumplings. The legend is that a chef intended to boil his dumplings in a wok but got distracted, leaving the water to boil away. The dumplings stuck to the pan, producing what we now call a potsticker.
The potsticker wrappers are made from a thicker dough and are commonly made by frying, steaming, then frying again. We use this fry-steam-fry method in the recipe for this type of dumpling!
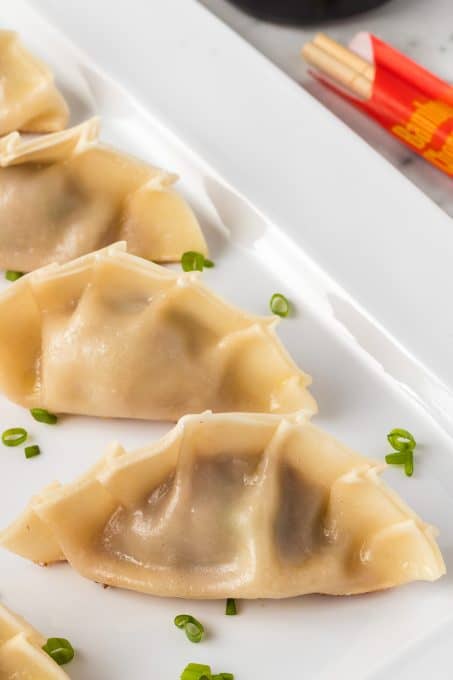
What kind of pork is used in these Potstickers?
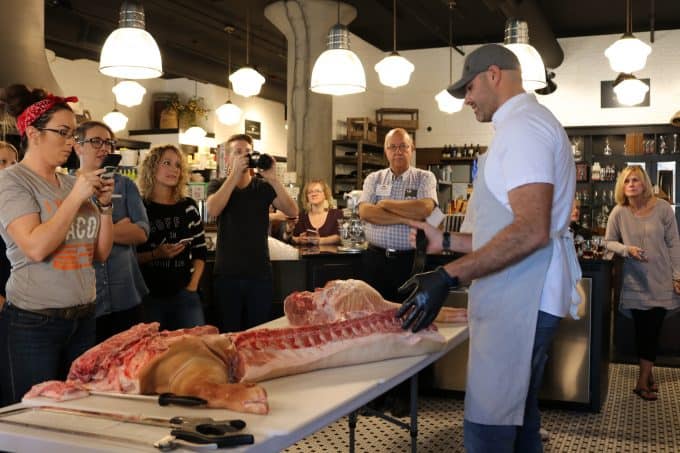
This recipe calls for ground pork. Did you know Ground Pork is made from the shoulder, also commonly known as butt or Boston Butt?
Well, the reason it’s called Boston Butt is this: the front shoulder cut of the pig was stored by colonial New England butchers in large wooden barrels called, yup you guessed it, butts. They were used for storage or transport and that particular shoulder cut of the pig eventually became known around the country as a New England specialty.

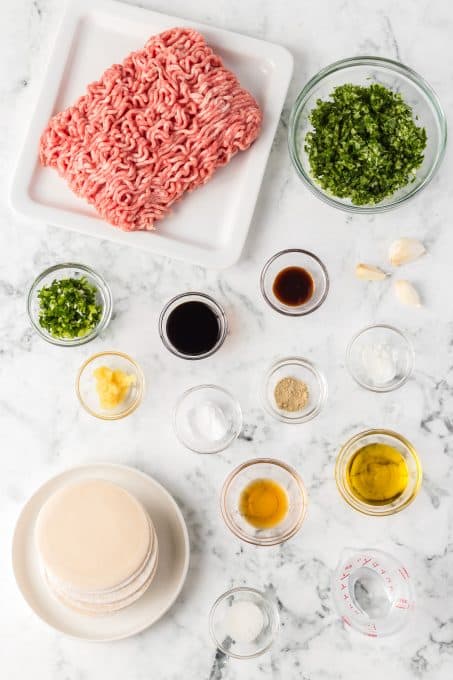
Pork Potstickers Ingredients
Gather the following ingredients for your potsticker filling:
- Cornstarch
- Sugar
- Baking soda
- White pepper
- Ground pork
- Minced garlic
- Soy sauce
- Freshly grated ginger (dried is ok)
- Hoisin sauce
- Sesame oil
- Shredded cabbage
- Green onions
You’ll whisk together soy sauce, rice vinegar, and chili paste for a savory dipping sauce
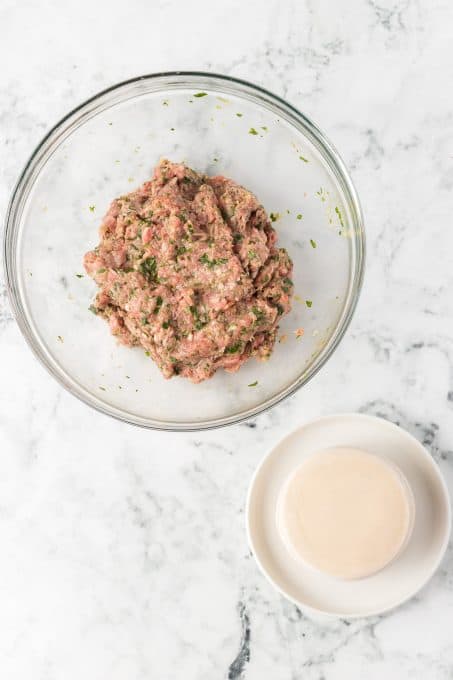
How to make the Pork Potsticker filling
First, don’t worry about making your own dumpling wrappers. Buy some potsticker or gyoza wrappers at the grocery store.
In a small bowl, whisk together the cornstarch, sugar, baking soda, and white pepper. In a large bowl, combine the pork, garlic, soy sauce, ginger, Hoisin sauce, sesame oil, cabbage, green onions, and cornstarch mixture. Mix with a wooden spoon until well combined.
Cover with plastic wrap and refrigerate for at least 30 minutes.
Why is there cornstarch and baking soda in potstickers?
You’ll notice that I use cornstarch and baking soda in the filling. The cornstarch makes for a smooth filling and the baking soda helps to tenderize the meat.
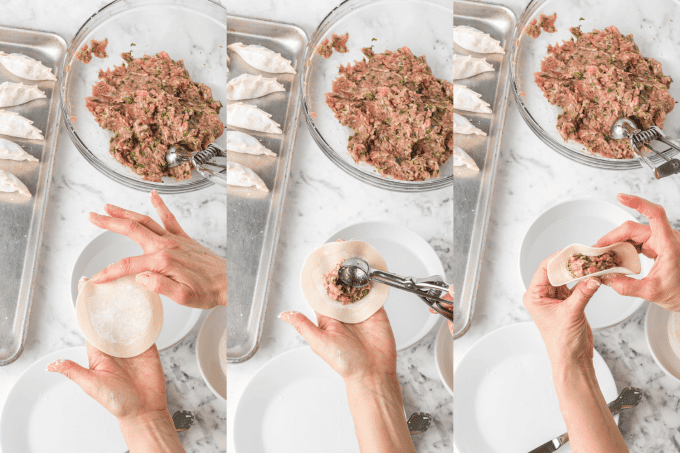
How to assemble Potstickers
If you’re a visual person, I find this video on YouTube for making potstickers and how to fold them is extremely helpful. It is the way I describe how to seal the dough. You’ll be able to find other videos as well if you find this method doesn’t work for you. Because isn’t everything on YouTube nowadays?
Here’s my best written explanation if that helps you:
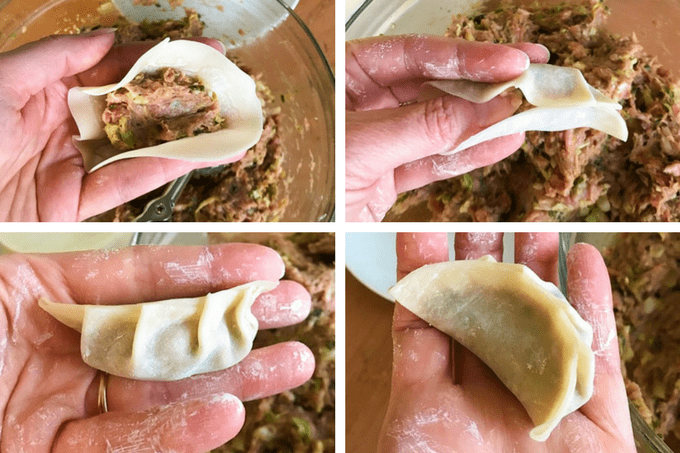
-Cradle one of the potsticker wrappers in your non-dominant hand. Lightly dip your finger in the bowl of hot water and wet it all around the edge. Using a small cookie scoop or two teaspoons of filling, place the filling into the center of each wrapper. Fold the edges up, but do not put them together yet.
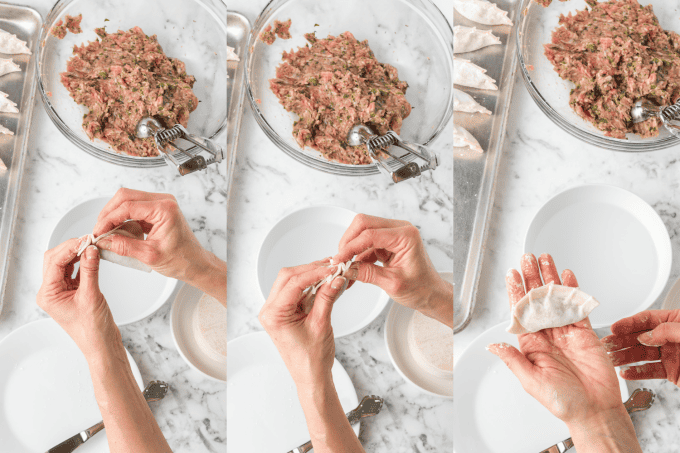
-Pinch one end of the wrapper together. Place the thumb of the hand holding the potsticker just above the filling in the wrapper. Push the side of the wrapper furthest away from you slightly towards the sealed end, grabbing and sealing it together with your opposite hand.
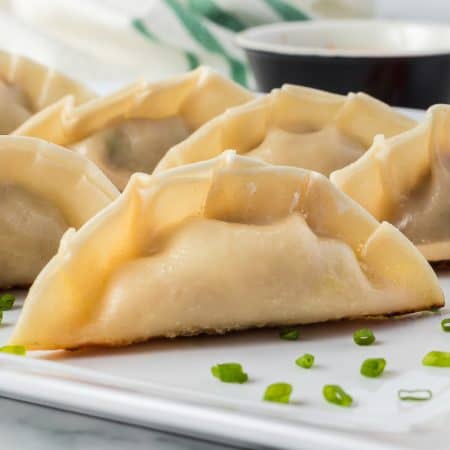
-By doing this, you’ll create a small fold each time and form a natural crescent shape. Do that for another three or four folds, sticking the dough together as you go and seal the other end. When finished, they should have a body that is slightly curved, and a flattened bottom with about 4 – 5 pleats on the top.
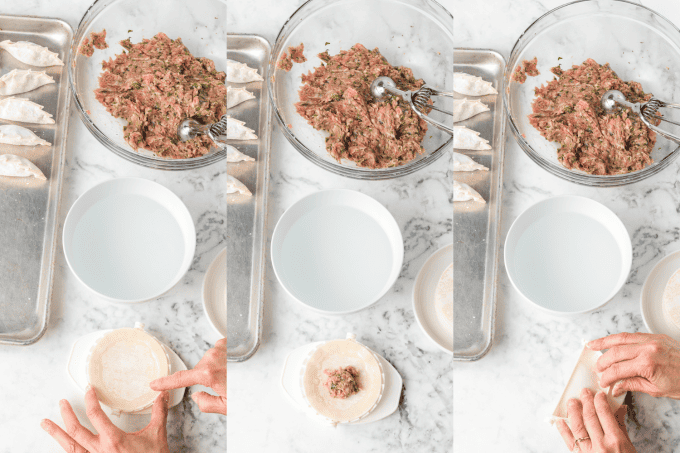
Alternately – you can use this super cool tool!
Using a dough press can make the process easier for you if making the pleats is intimidating.
Just follow these steps:
-Place a potsticker wrapper on top of the dough press, and using your finger, dip your finger into the bowl of water and wet it around the edge, making sure that there is enough moisture to completely seal.
-Put a cookie scoop of filling into the center of the wrapper and fold the press over. Push down hard to apply enough pressure to seal the edges. And you’re done!
Note: I did find that the process went MUCH more quickly using the press however, occasionally some of the edges didn’t stick together and opened up while cooking. So you need to make sure you’re wetting the edges enough so that they stick together and press down hard enough to seal them.
I also enjoyed the using my hands to make the dumplings, but you can use whatever way works for you.
Cook Your Pork Potstickers
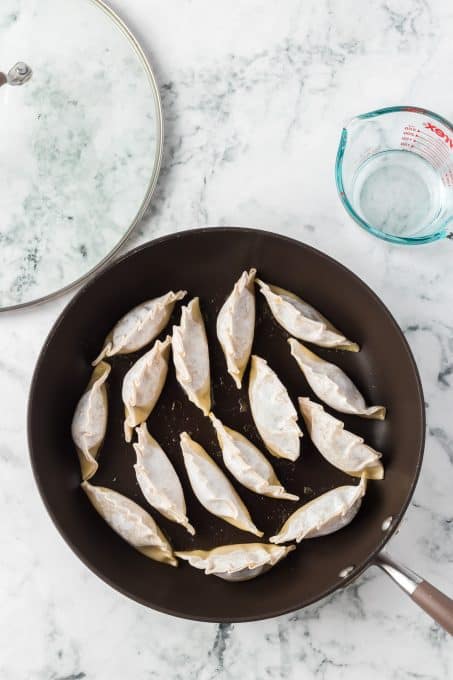
When ready to cook, heat a non-stick skillet over medium-high heat and add the tablespoon of olive oil. Place the potstickers flat side down into the pan. Only put as many as you can fit in a single layer.
Cook for one minute without touching or until the bottoms are golden brown. Pour the 1/4 cup of water into the pan and immediately cover it with a lid.
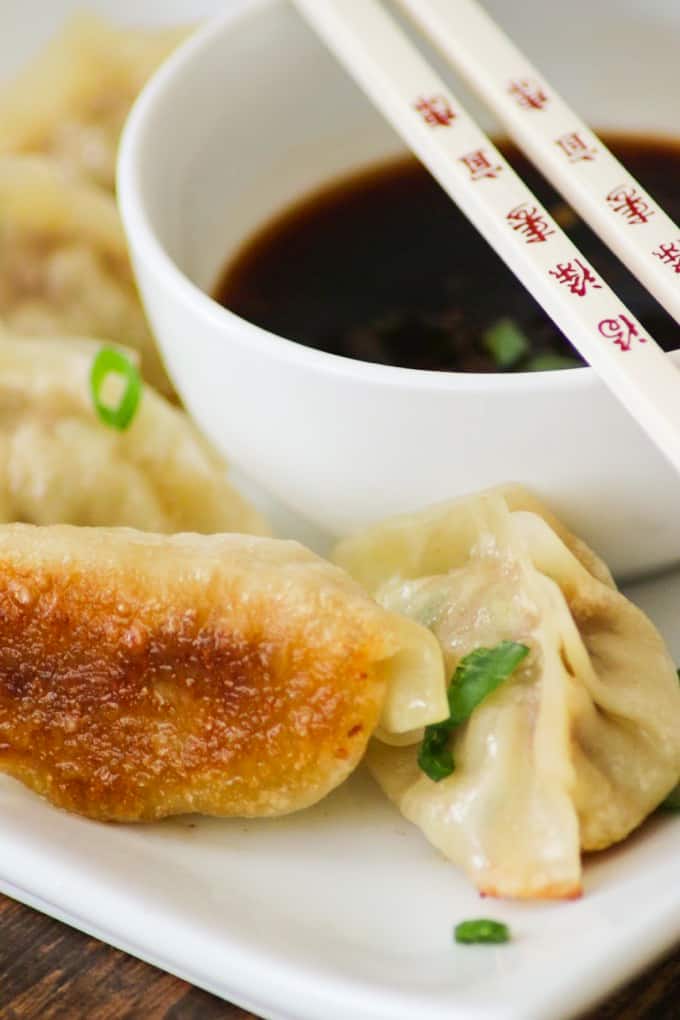
Reduce to medium heat and cook for 3 – 4 minutes or until all the water has disappeared. Remove the lid and cook for an additional minute.
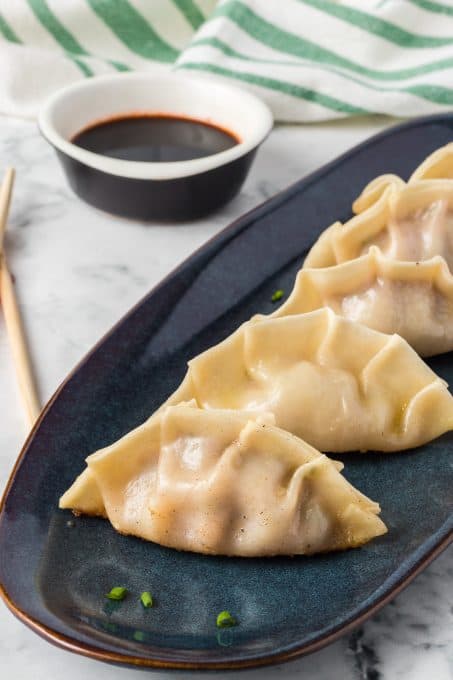
Make your dipping sauce and drizzle over potstickers or serve it on the side for dipping.
How many calories per serving?
This recipe makes about 46 potstickers. The nutritional information has been calculated to serve 9 people with 5 potstickers per person (and one additional for the chef. 😉). One serving is 285 calories.
Can I make these ahead of time?
If they haven’t been cooked then you can make them a day ahead. Place them in a tightly sealed container and refrigerate. Remember, no longer than two days MAX as the dough starts to become mushy, and it is raw meat inside.
Storing Potstickers In the Refrigerator
Once they are cooked and cooled, keep these in the refrigerator in an airtight container for up to 2 days. After that, the wrapper will start to get soggy.
Can I freeze leftover potstickers?
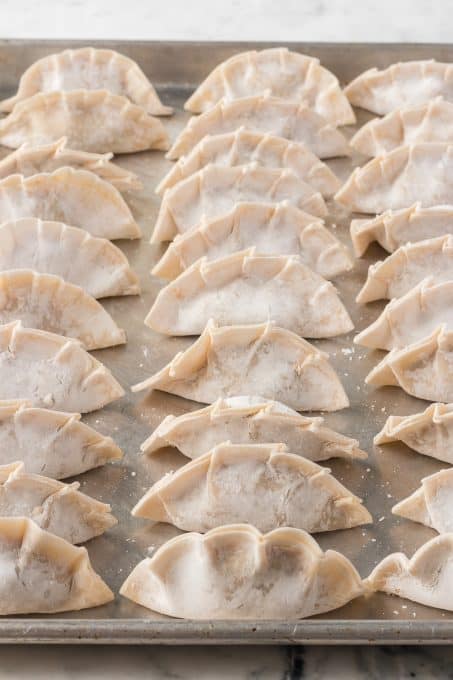
Place them on a parchment-lined baking sheet after you’ve filled them so they aren’t touching, and freeze for at least 8 hours. When frozen, place them in a plastic bag and seal them. You’ll be able to enjoy them whenever you’d like. Just know that it will take a few minutes longer for them to cook, and there’s no need to thaw them first.
If you like Pork Potstickers, then you’ll enjoy these other pork dishes:
- Slow Cooker Spicy Orange Pork Roast
- Jack Daniels Pork Tenderloin
- Dijon Herb Roasted Pork with Cranberry-Pear Chutney
- Sweet and Spicy Coca-Cola Shredded Pork Bites
- Rosemary Pork Medallions with Mushroom Wine Sauce
~ FOLLOW ME ~
~ FACEBOOK ~ PINTEREST ~
~ INSTAGRAM ~ TWITTER ~
~ YOUTUBE ~
Keep an eye out for more of my easy recipes each week!
Pork Potstickers
Ingredients
Potstickers
- 1 teaspoon cornstarch
- 1 teaspoon sugar
- ¾ teaspoon baking soda
- ¼ teaspoon white pepper
- 1 lb. ground pork
- 3 cloves garlic minced
- 1 tablespoon soy sauce
- 1 ½ teaspoons freshly grated ginger
- 1 teaspoon Hoisin sauce
- 1 teaspoon dark sesame oil
- 1 cup shredded cabbage chopped
- 2 green onions – greens and whites chopped
- 50 potsticker wrappers
- small bowl of water
- 1 tablespoon olive oil
- ¼ – ⅓ cup water
Dipping Sauce
- 3 ½ tablespoons low sodium soy sauce
- 1 tablespoon rice vinegar
- ¾ teaspoon chili paste
- sesame seeds if desired
Instructions
- In a small bowl, whisk together the cornstarch, sugar, baking soda and white pepper.
- In a large bowl, combine the pork, garlic, soy sauce, ginger, Hoisin sauce, sesame oil, cabbage, green onions and cornstarch mixture. Mix with a wooden spoon until well combined.
- Cover with plastic wrap and refrigerate for at least 30 minutes.
To Assemble
- Cradle one of the potsticker wrappers in your non-dominant hand. Lightly dip your finger in the bowl of water and wet all around the edge.
- Using a small cookie scoop, or two teaspoons of filling, place filling into the center of the wrapper.
- Fold the edges up, but do not put them together yet.
- Pinch one end of wrapper together.
- Place the thumb of the hand holding the potsticker just above the filling in the wrapper. Push the side of the wrapper furthest away from you slightly towards the sealed end, grabbing and sealing it together with your opposite hand. By doing this, you’ll create a small fold each time and form a natural crescent shape.
- Do that for another three or four folds, sticking the dough together as you go and seal the other end.
- When finished, they should have a body that is slightly curved, and a flattened bottom with about 4 – 5 pleats on the top.
Instructions for using a Dough Press
- Place a potsticker wrapper on top of the dough press, and dip your finger into the bowl of water to wet around the edge, making sure that there is enough moisture to completely seal.
- Put a cookie scoop of filling into the center of the wrapper and fold the press over. Push down hard to apply enough pressure to seal the edges.
- Note: I did find that the process went MUCH more quickly using the press however, some of the edges didn't stick together and opened up while cooking. Therefore, make sure you're putting enough water on the edges to stick them together then press down hard enough to seal them.
Cooking
- When ready to cook, heat a non-stick skillet over medium-high heat and add the tablespoon of olive oil.
- Place the potstickers flat side down into the pan. I can fit about 15 comfortably into my 10-inch non-stick skillet.
- Cook for one minute without touching or until the bottoms are golden brown.
- Pour the 1/4 cup (or 1/3 cup – I use 1/3 cup when cooking 15 at a time) of water into the pan and immediately cover with a lid.
- Reduce heat to medium and cook for 3 – 4 minutes or until all the water has disappeared.
- Remove lid and cook for an additional minute.
To Make the Sauce
- In a small bowl, whisk together the soy sauce, rice vinegar and chili paste.
- Drizzle with sauce or serve it on the side for dipping.
Notes
- This recipe makes about 46 potstickers and nutritional information has been calculated for 5 potstickers per person.
- See video in post of ‘How to Assemble’ that I recommend for folding them.
- I’ve found it helpful to remove the pan from the heat as you add the water then quickly cover it as you return it to the burner. It will help prevent the oil from spattering.
Nutrition
This post was originally published November 16, 2017. It has been updated in format and with pictures on July 5, 2023.

Comments & Reviews
These look amazing, I LOVE potstickers! You did such an amazing job with folding them – they are perfect!
Thank you so much, Erin! They are SO delicious and surprisingly easy to make. It just takes a little work on getting the folds down, but after some practice, you’re a pro!
Good Taste!
So delicious!! Great recipe.
Thanks so much, Lora! I’m so glad you loved them. They’re certainly one of my favorites!