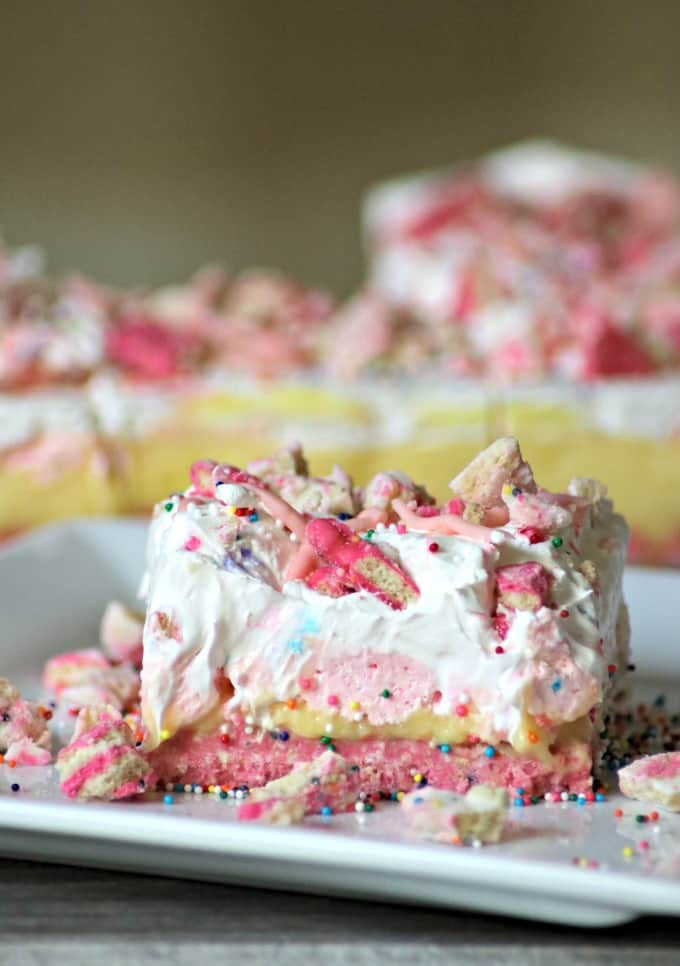
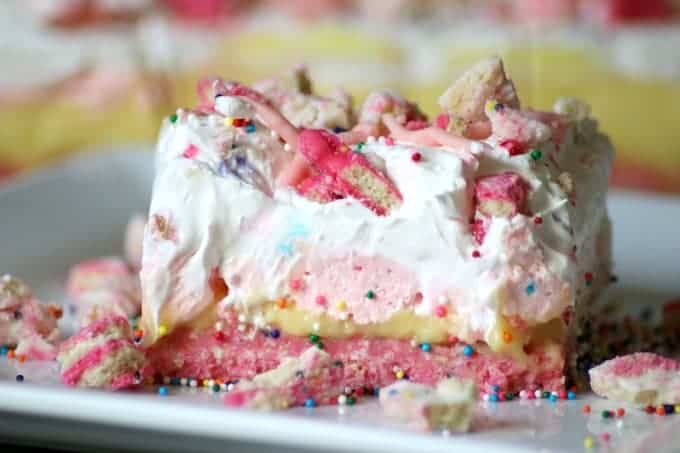
These Circus Animal Cookie Dream Bars with a cookie crust, vanilla pudding, sweetened cream cheese, and whipped topping will bring out the kid in anyone. Eyes will light up when you place this fun and colorful no-bake dessert on the table!
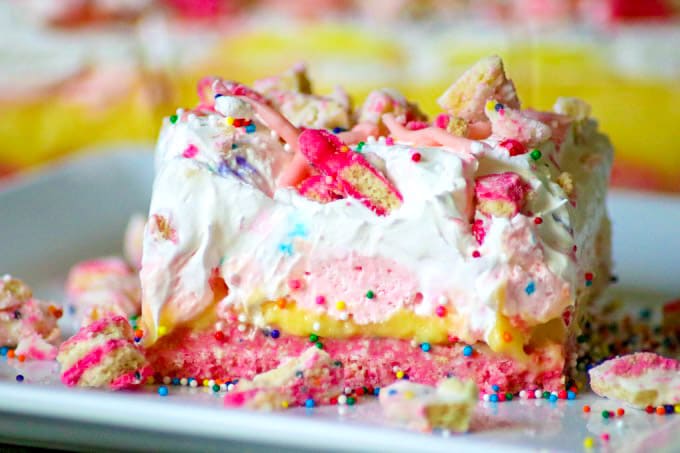
These Dream Bar recipes always get me.
I mean, I’ve created quite a few of them and they seriously are delicious, but these Circus Animal Dream Bars might just be the piece de resistance. They’re just so colorful and I can’t help but smile every time I look at them or bite into them!
The original Chocolate Peanut Butter Dream Bars were brainstormed with the help of my daughter. They quickly became one of the most popular recipes on the blog. I baked the cookie crust, but honestly, you can combine the Nutter Butter cookies with butter and place the crust into the freezer to make them a no-bake dessert as well.
SAVE THIS CIRCUS ANIMAL COOKIE DREAM BAR RECIPE TO YOUR FAVORITE PINTEREST BOARD!
Got a coconut craving? This Coconut Cream Lush sounds super delicious, especially with that toasted coconut on the top.
With the holidays coming up, this Pumpkin Spice Layered Lush is sure to be a favorite when you put it on your dessert table.
Like lemon desserts? I sure do! This No-Bake Golden Oreo Lemon Dessert will definitely have you smacking your lips.
And believe me, there are quite a few others. Just search ‘Dream Bars here on the blog and you’ll find them!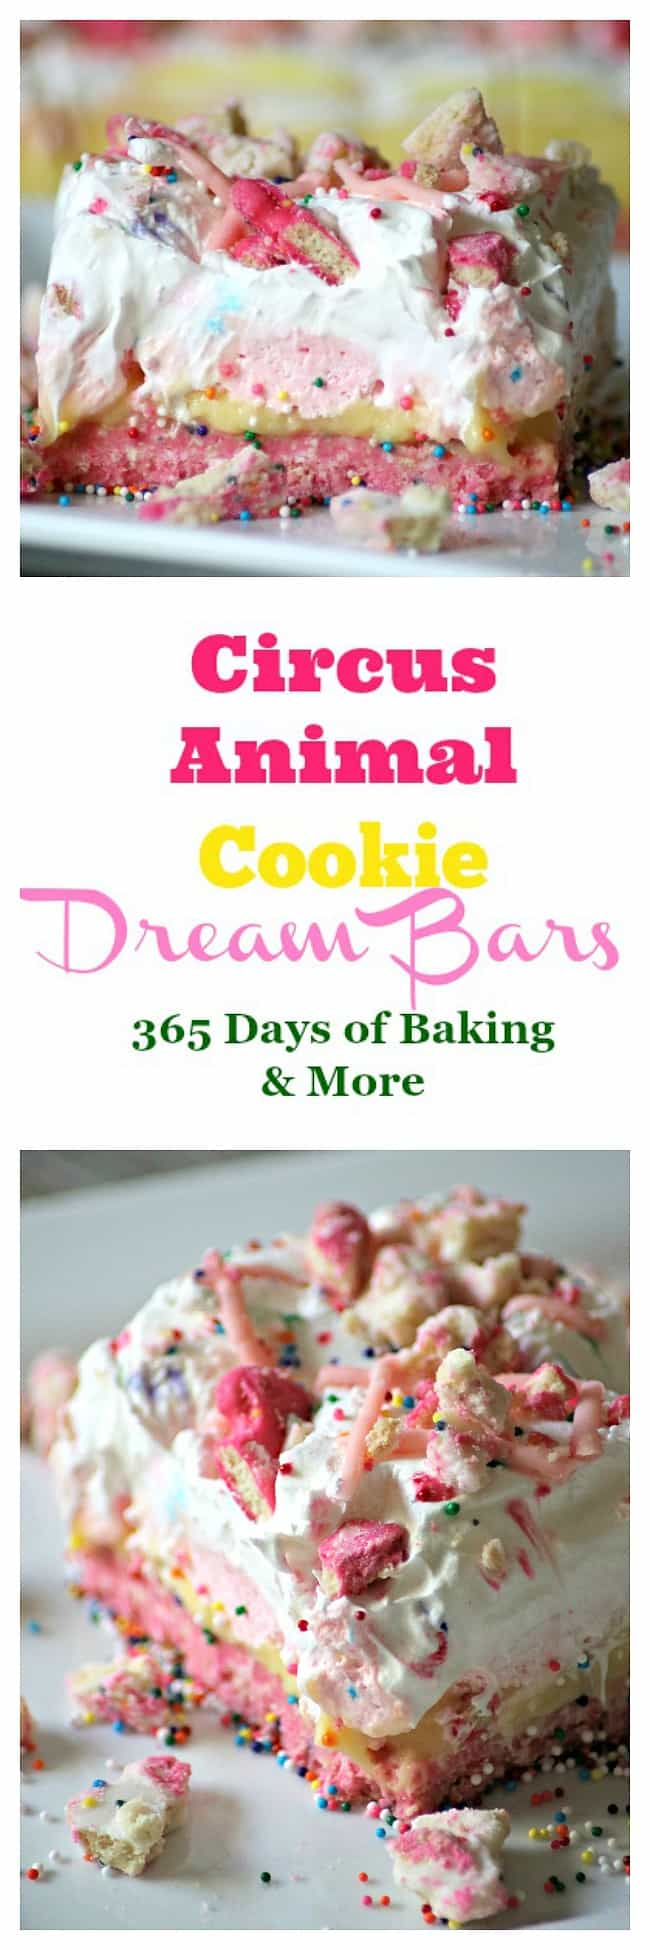
~ FOLLOW ME ~
~ FACEBOOK ~ PINTEREST ~ INSTAGRAM ~ TWITTER ~
SIGN UP FOR THE WEEKLY
365 DAYS OF BAKING & MORE
WEEKLY NEWSLETTER!
JOIN THE
365 DAYS OF BAKING AND MORE FACEBOOK GROUP
TO RECEIVE ADVANCE NOTICE OF
MY LIVE FB VIDEOS, SHARE RECIPES AND MORE!
One of the best things about these dream bar recipes besides the fact that they’re no-bake is that my recipe for Stabilized Whipped Cream is a great replacement for Cool Whip in all of them.
It makes the amount you need. Plus, you can feel good about giving your family a dessert with real whipped cream. No artificial gobbledegook and NO gelatin as in some recipes!
Circus Animal Cookie Dream Bars
Ingredients
Crust
- 2 12- ounce packages Circus Animal Cookies
- 4 tablespoons unsalted butter
Pudding Layer
- 1 3.4- ounce package Instant Vanilla Pudding
- 1 ½ cups milk
- 1 8- ounce container Cool Whip OR 1 recipe Stabilized Whipped Cream divided
Sweetened Cream Cheese Layer
- 6 ounces cream cheese room temperature
- ¾ cup confectioners’ sugar
- red food coloring
- ½ cup white chocolate chips
- multi-colored nonpareils candy
- additional crumbled cookies for decorating
Instructions
- Prepare an 8 X 8-inch baking pan by lining it with parchment so that the edges come up on the sides,. This will enable you to easily remove the bars from the pan to slice before serving.
Crust
- Place 1 package of the Circus Animal Cookies into a food processor and pulse into finely ground crumbs.
- In a medium microwavable bowl, melt butter for 20 - 30 seconds.
- Pour the cookie crumbs into the butter and mix well.
- Place the crumbs into the prepared baking pan and pat down firmly, spreading to all of the edges.
- Put the pan into the freezer to set for a minimum of 30 minutes.
Pudding Layer
- In a medium bowl, whisk together the vanilla pudding and milk.
- DO NOT use the amount of milk as called for on the pudding box. We want the pudding to have a firmer consistency.
- Place into refrigerator to chill.
Sweetened Cream Cheese Layer
- In a mixing bowl, beat the cream cheese until soft.
- Add the confectioners’ sugar and 2-3 drops of red food coloring.
- Beat until thoroughly combined, scraping down the sides and bottom of the mixing bowl.
- If desired, add more red food coloring until desired hue is reached.
- Fold in one cup of Cool Whip until well mixed.
Assembly
- Place dollops of pudding on top of the frozen cookie crust and gently spread. *See Note.
- Place dollops of the cream cheese on top of the pudding and gently spread to the edges of the pan.
- Evenly spread the remaining Cool Whip over the pudding.
- Sprinkle the colored nonpareils over the Cool Whip.
- In a small microwavable bowl, place the white chocolate chips and microwave for 30 seconds. Stir. Reheat for another 10 seconds, stir and reheat if needed again until completely melted and smooth, taking care not to overheat.
- Add a few drops of red food coloring and mix, adding more if needed until the desired hue is reached. Place melted chocolate into a sandwich bag and cut off a small corner.
- Starting at one of the pan corners, pipe the chocolate over the nonpareils to the opposite corner and repeat in opposite direction.
- Sprinkle with additional nonpareils.
- In a plastic bag, place 1/2 the remaining bag of cookies and crush into uneven pieces. Scatter cookie pieces over dessert.
- Place pan into the refrigerator for a minimum of two hours.
- A half hour before serving, place pan into freezer. This will allow it to be sliced easily.
- When ready to serve, lift bars out of the pan by the parchment.
- Peel the parchment away from the sides and slice with a large knife. I find it easiest to slice them when the knife has been placed under some warm running water and then dried.
Notes
Nutrition
I know there are similar recipes out there with other names like layered lush, dessert lasagna and mine are very similar to those in ingredients. I just decided to name them dream bars because when you bite into each one they really are pretty dreamy.
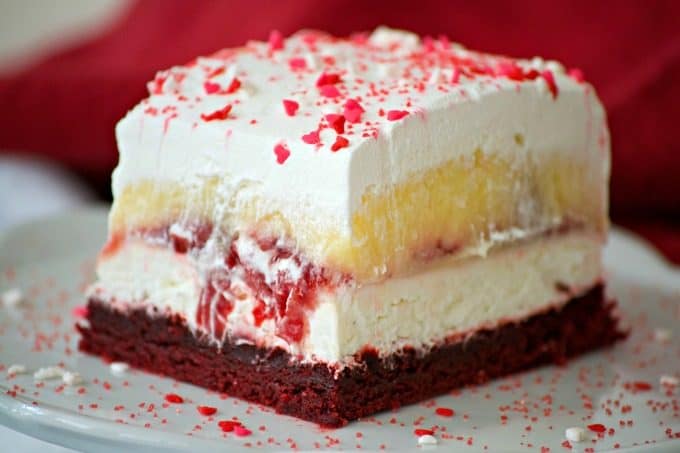
Another popular one has been the Red Velvet Cherry Dream Bars. These are going to be a great addition to your holiday dessert table or a special Valentine’s Day treat.
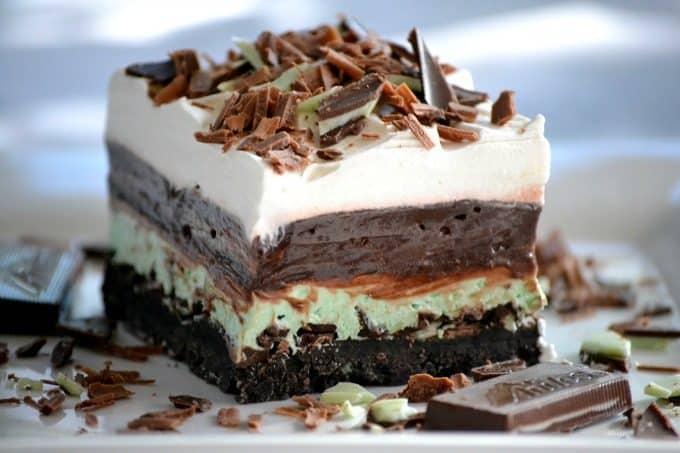
If you are a chocolate mint lover, try the Chocolate Mint Dream Bars. I think those are my favorite!
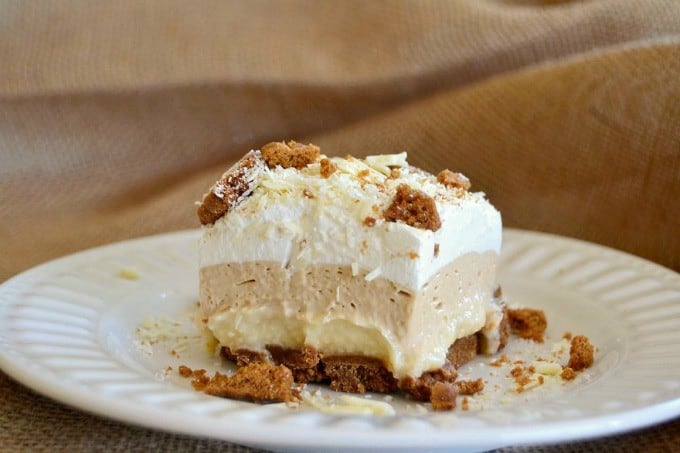
I even made one with Biscoff, Biscoff White Chocolate Dream Bars. It that’s delicious speculoos cookie butter. AH-mazing!
And yes, I know that they aren’t really what you might consider being a bar dessert. Just go with it and pretend. Because after you bite into any one of them, let’s face it you aren’t going to really care much what they’re called anyway. It will make for good discussion around the dessert table at least.
Comments & Reviews
Made for my son Thank you and …. pinning, of course !
I love this cake
Left off the white chocolate drizzle but followed the remainder of the recipe as written. Was a hit!