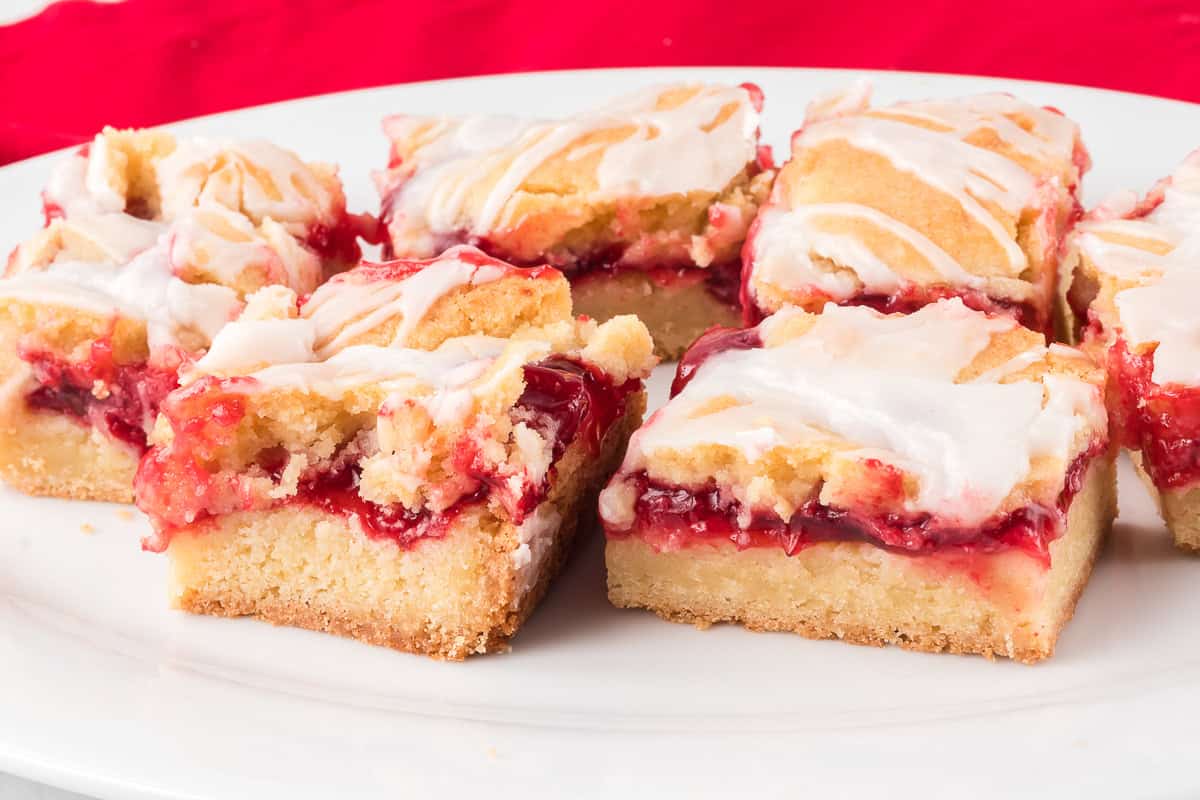
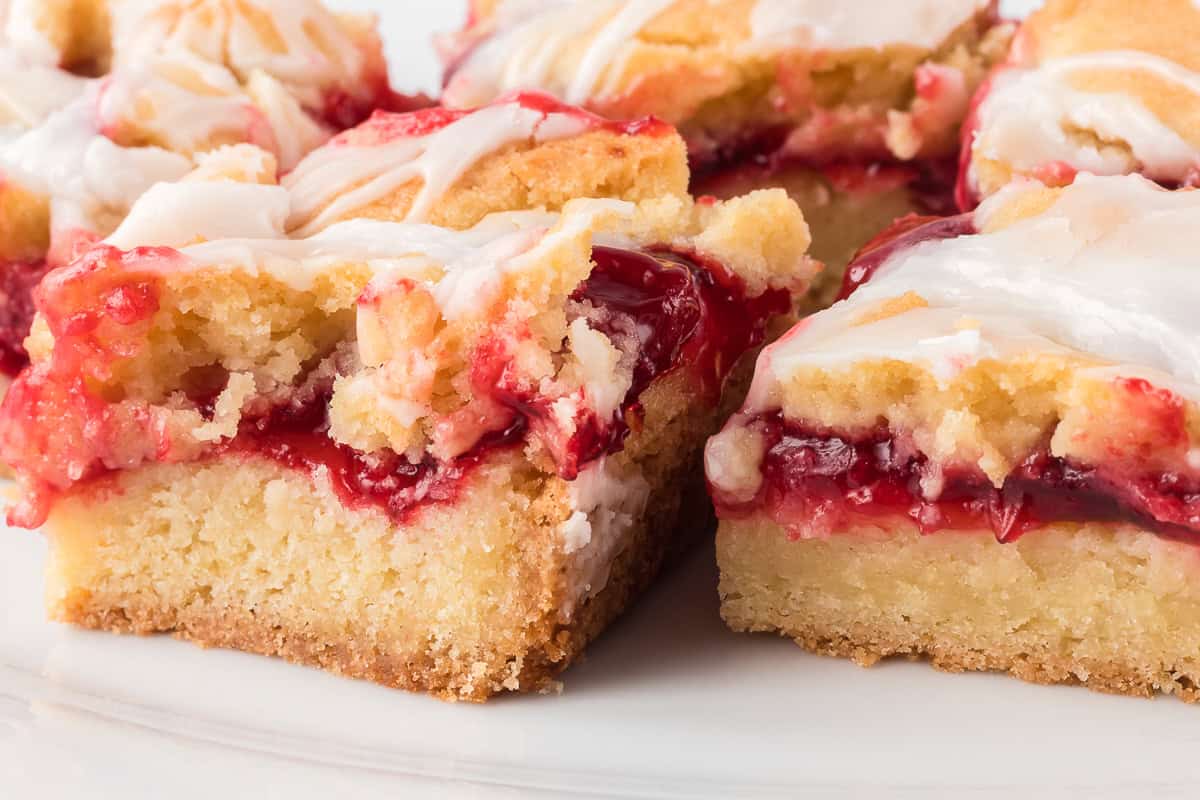
Embrace that sweet cherry flavor by making a batch of these easy Cherry Pie Bars! Enjoy all the luscious flavors of cherry pie without all the work. Make it with store-bought sweet cherry pie filling or, for an extra special touch, make your own!
There’s nothing like a homemade cherry pie, but these cherry pie bars come in a close second! I’m not going to lie, my ability to make pie dough look presentable varies, but this way I can enjoy all the gorgeous cherries without worrying about making the perfect crust.
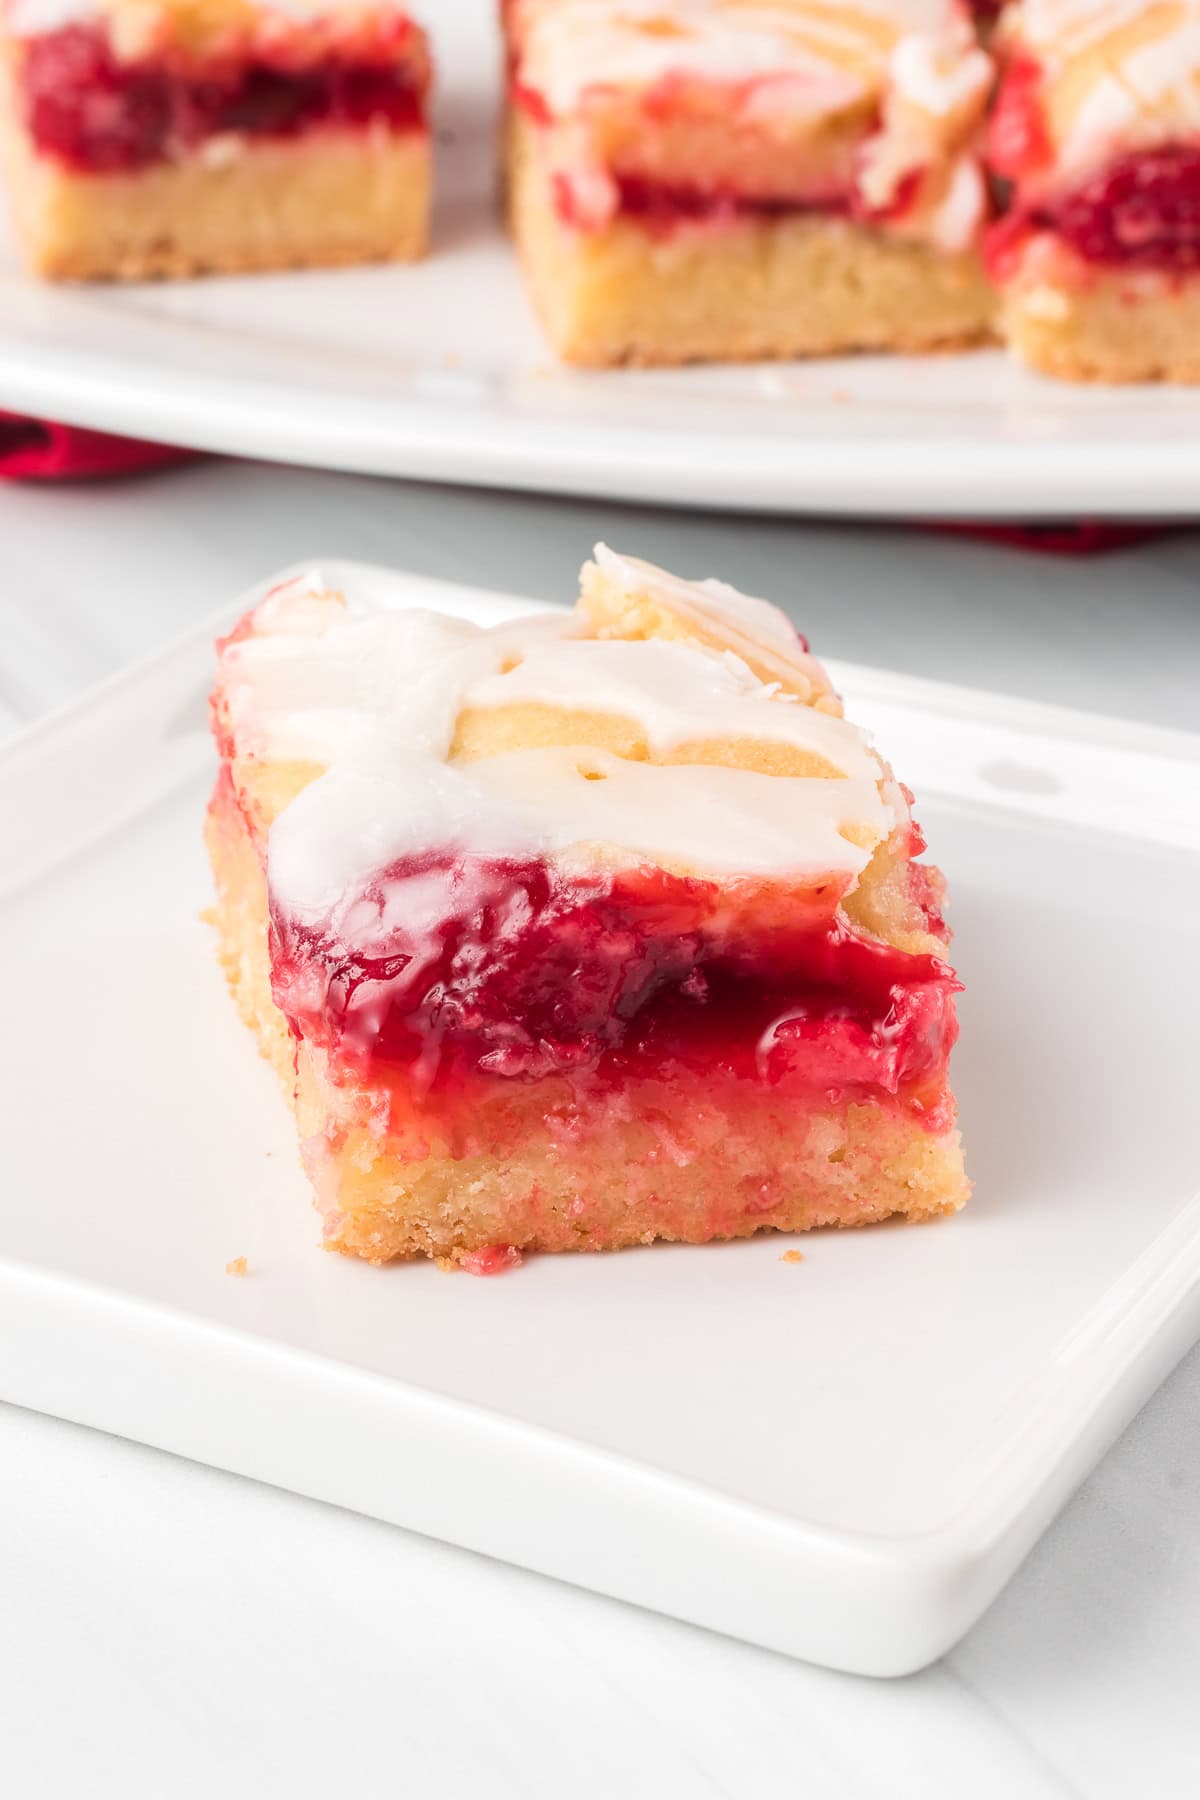
Once they are sliced into bars, they make the perfect festive treat to fill out your holiday cookie tray or enjoy as a special dessert this Christmas season!
Welcome to 2025’s 12 Days of Cookies!
Day 5 of our 12 Days of Cookies are these Cherry Pie Bars.
Be sure to check out all of the other days for more goodies!
Day 1 – Peppermint Chocolate Chip Cookies
Day 2 – Chocolate Crinkle Cookies
Day 3 – Chai Biscotti
Day 4 – Haystacks
Day 5 – You’re on it!
Day 6 – Cookies and Cream Cookies
Day 7 – Cranberry Orange Cookies
Day 8 – Brown Butter Shortbread
Day 9 – Buckeye Cookies
Day 10 – Ricotta Cookies
Day 11 – Chocolate Pizzelle Recipe
Day 12 – Christmas Cookie Cups
SAVE THIS CHERRY PIE BARS RECIPE TO YOUR FAVORITE PINTEREST BOARD!
Cherry Pie Bars vs Cherry Cobbler
These cherry bars have a lot in common with a cherry cobbler, but there is an important difference. While they are both full of delicious cherry flavor, cherry cobbler doesn’t have a bottom crust, just a topping. These cherry pie bars, on the other hand, have a buttery shortbread crust along with a delicious topping, making this just like a cherry pie in bar form. I promise, they’ll be a huge hit with the cherry fans in your life!

Ingredients for Cherry Bars
Gather these basic ingredients to make your delicious dessert bars:
- Unsalted butter, room temperature (if using salted butter, omit the salt below)
- Shortening
- Granulated white sugar
- Baking powder
- Salt
- Large eggs
- Pure vanilla extract
- All-purpose flour
- Canned cherry pie filling (or homemade cherry pie filling if you have some)
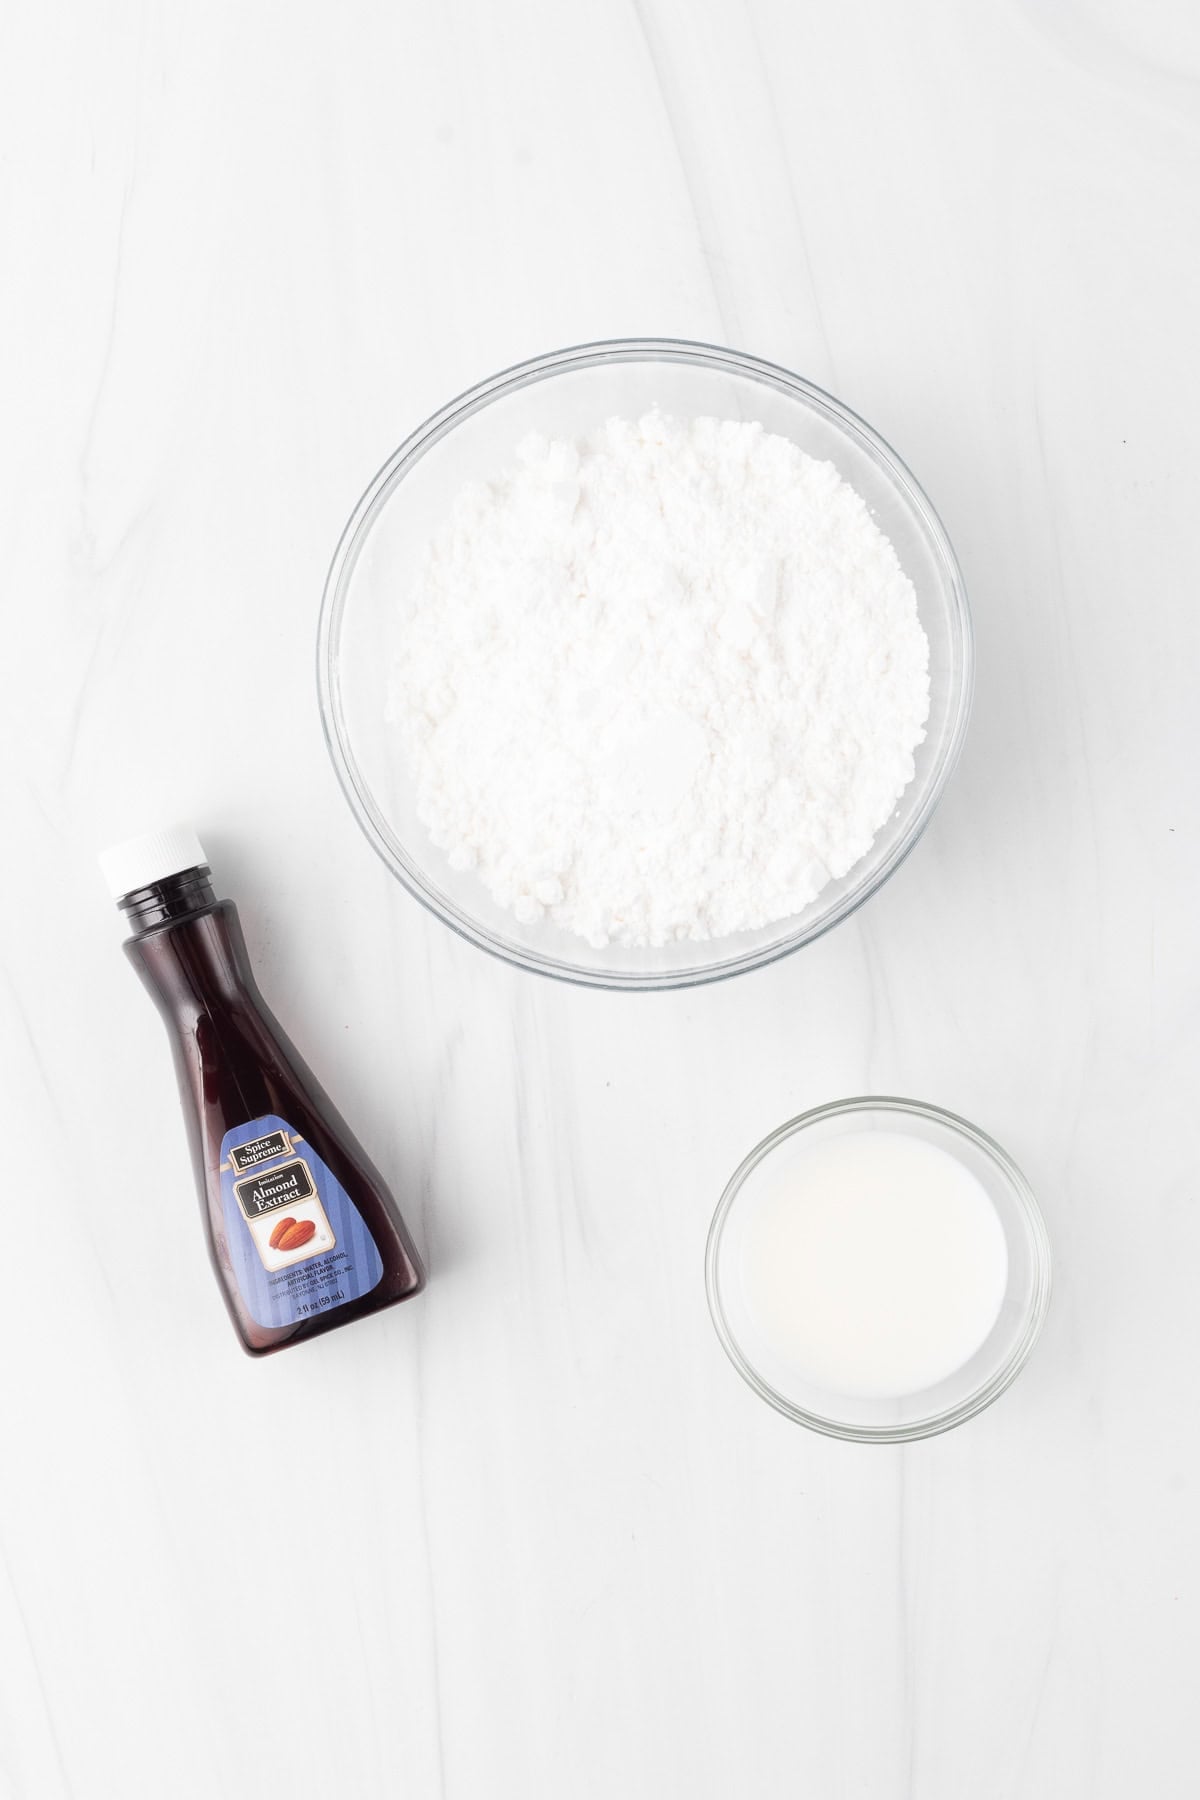
Powdered Sugar Glaze Ingredients
- Powdered sugar
- Milk
- Pure almond extract (or vanilla extract)
For a full recipe with amounts and instructions, check out the printable recipe card at the bottom of the post!
How to Make Cherry Pie Bars
These pie bars are easy to make, and you’ll have a sweet treat ready in less than an hour!
- First, preheat the oven to 350°F.
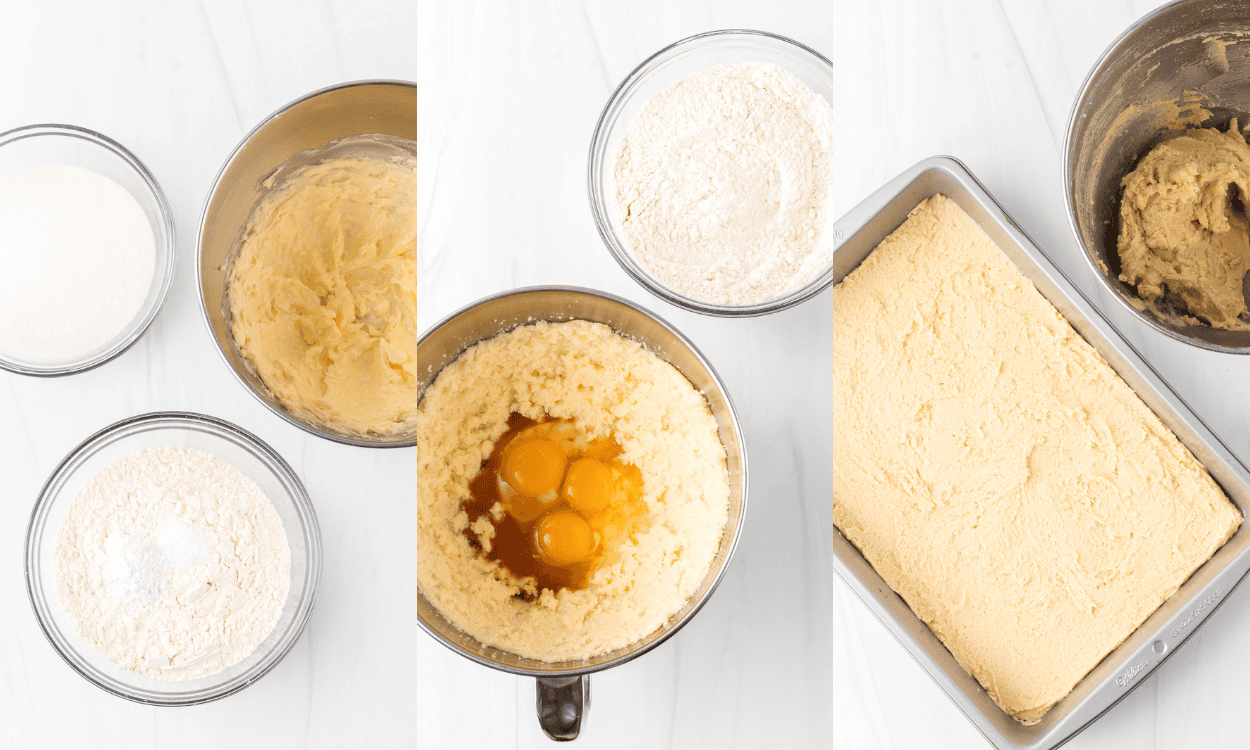
- In a large bowl, cream the butter and shortening on high until smooth and well combined. Add the sugar, baking powder, and salt, and completely combine. Be sure to scrape down the sides and bottom of the bowl.
- Add the eggs and vanilla and mix well. Add the flour and thoroughly combine. Set aside 1 1/4 cups of the dough for the topping.
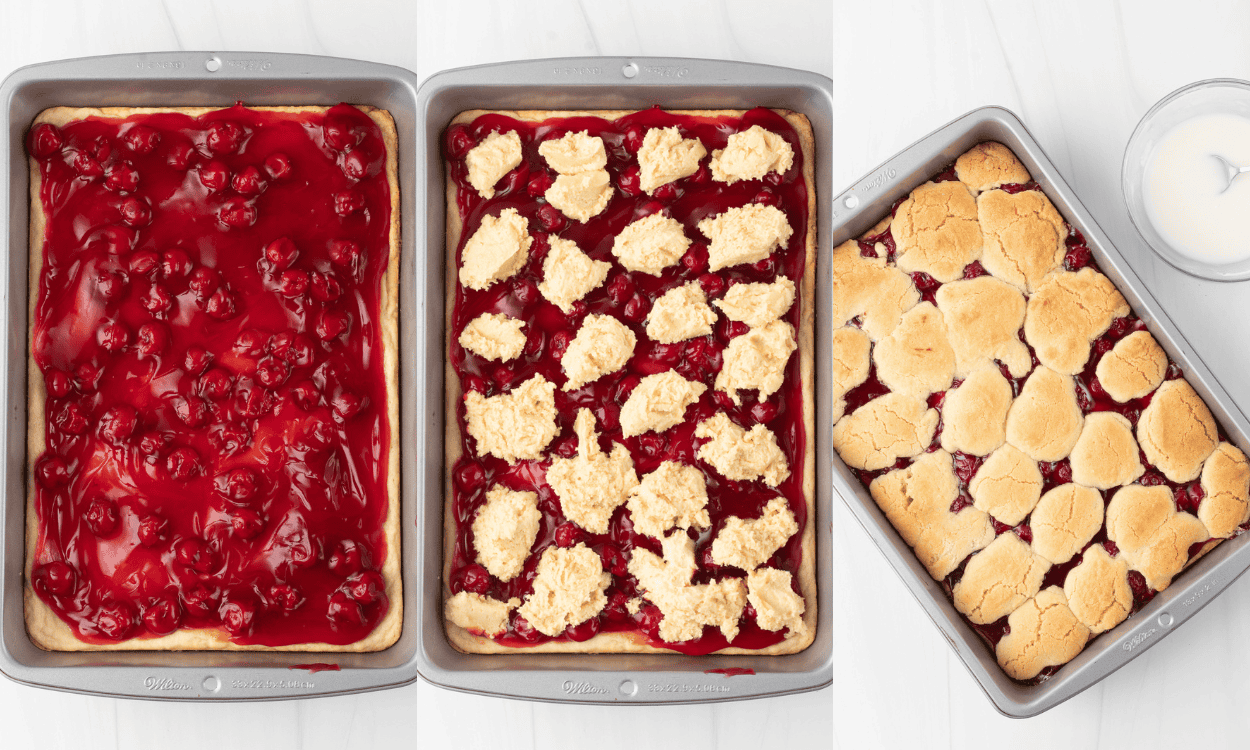
- Using your hands or the back of a spoon, press the remaining dough into an ungreased 9 X 13-inch baking pan. Bake for 12 minutes. The edges will be lightly golden brown, and the middle will be underdone, but don’t worry–you’re going to bake them again.
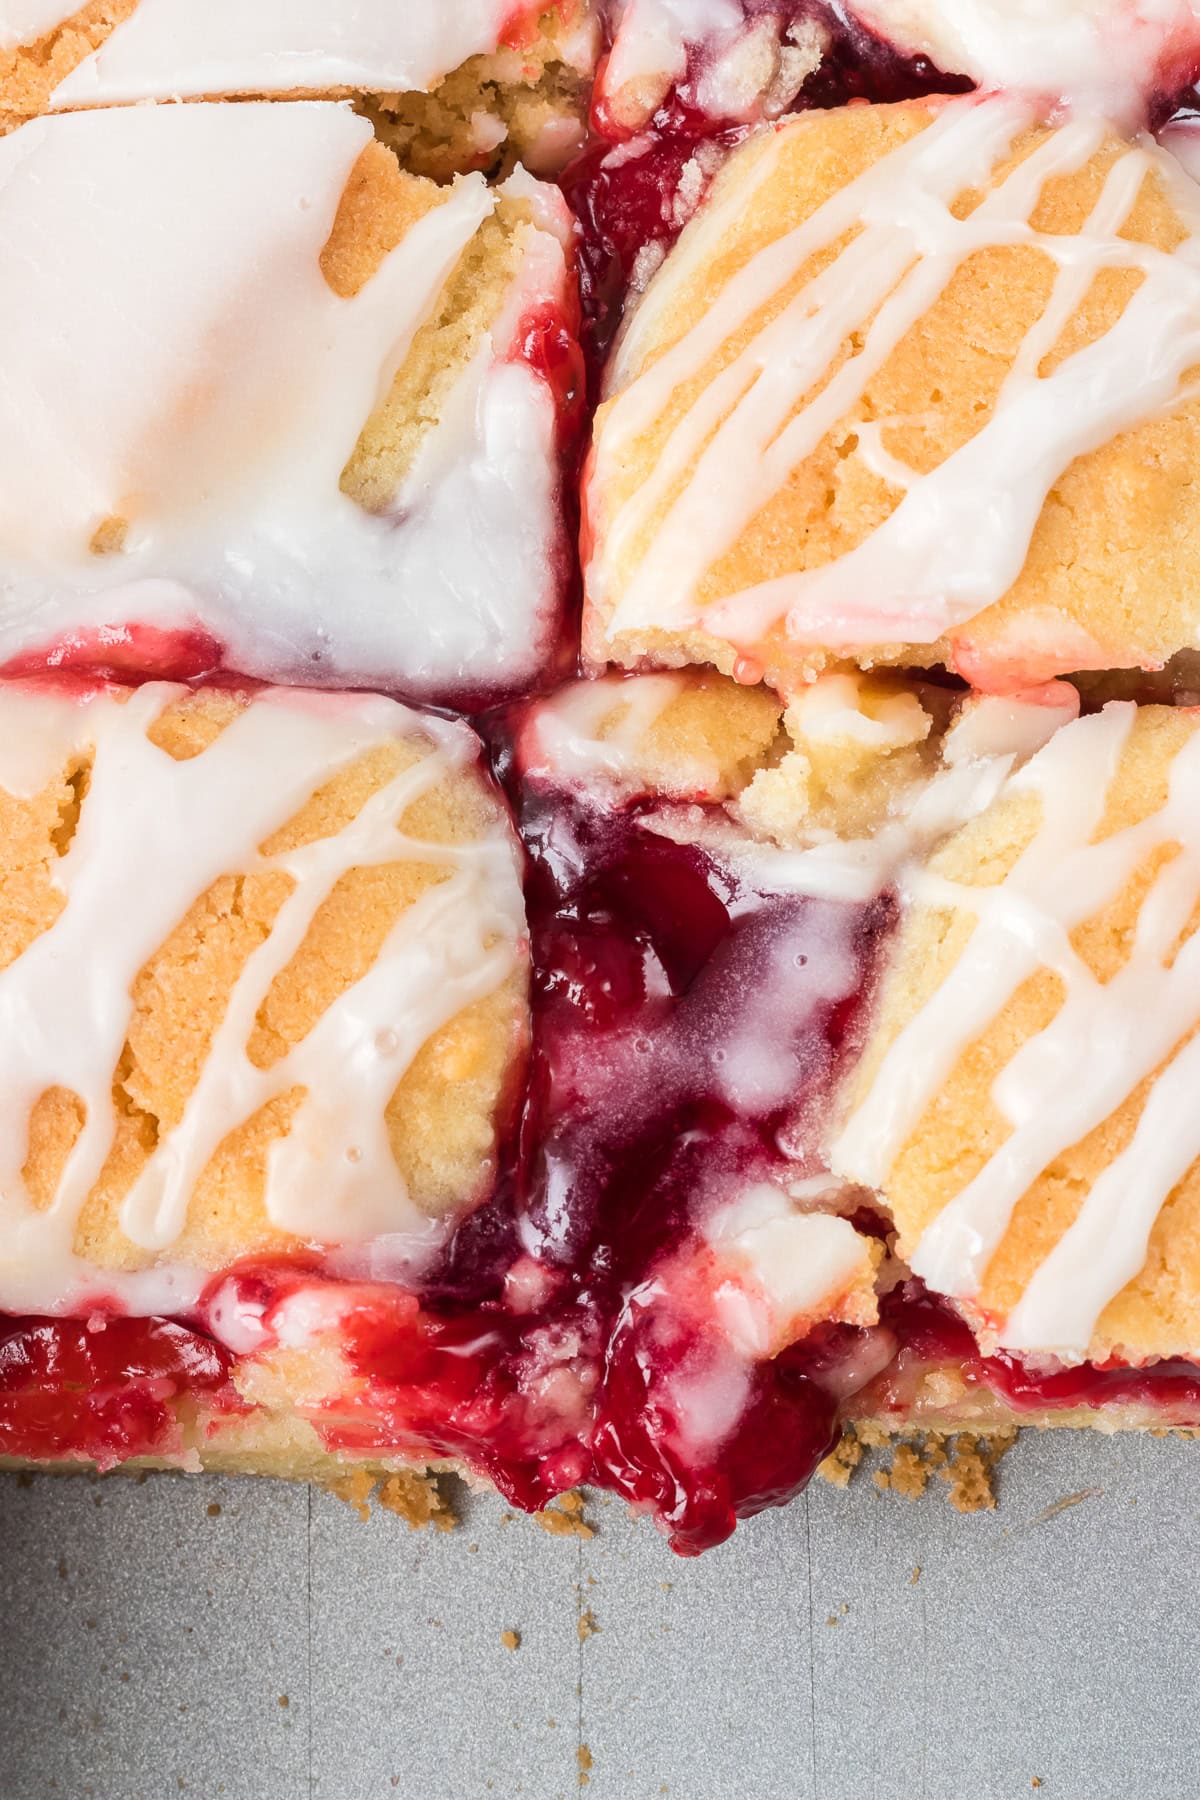
- Gently spread the cherry filling over the entire crust. Then drop the rest of the dough in mounds over the filling.
- Bake for about 30-35 minutes in the preheated oven until golden brown. Place the pan on a baking rack to cool for 10 minutes before glazing.
Make the Powdered Sugar Glaze
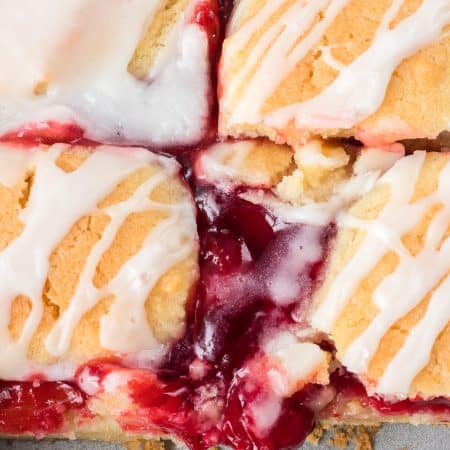
- In a small bowl, mix together the powdered sugar, 1 tablespoon of milk, and 1/4 teaspoon almond or vanilla extract. If needed, add 1 teaspoon of milk until the glaze reaches a consistency that allows it to be drizzled.
- Using a spoon, evenly distribute this simple glaze over the top of the bars after they’ve sat for 10 minutes on the wire rack. Slice the cooled bars into individual servings and enjoy!
Tips for Easy Serving
- Make sure your bars are completely cooled. Use a sharp knife to slice through the buttery crust into bars and a small spatula to remove them.
- These are best served fresh at room temperature.
- If they are too sweet, you can just dust them with powdered sugar instead of making a glaze.
- Top them with a scoop of vanilla bean ice cream for an extra treat!
FAQs
Can I make Cherry Pie Bars ahead of time?
Yes, you could make them up to a day in advance, but I would wait to add the glaze until just before serving. Store them tightly covered in the refrigerator until ready to serve.
How do I store leftover cherry bars?
Store them covered in the fridge for 3-4 days. I just keep them in the original pan and cover them tightly with foil, but you could transfer individual bars to an airtight container.
Can I make this recipe with other pie filling flavors?
Yes, you can use any flavor of pie filling you like! I think apple pie filling, blueberry pie filling, and peach pie filling would be especially good! Just use the same size can, and the recipe should turn out just the same.
Can I use fresh cherries or frozen cherries instead of pie filling?
No, the recipe will not work the same. Pie filling has a thickened sauce along with the cooked fruit, so if you use just plain fruit, you won’t have the same flavor or consistency in the bars. Try making this Cherry Pound Cake or one of these 20+ Fresh Cherry Desserts instead!

Cherry Desserts You’ll Love
If you’re looking for a way to use up that cherry pie filling, try one of these recipes next time:
- Cherry Thumbprint Cookies
- Cherry Hand Pies
- Chocolate Cherry Dump Cake
- Red Velvet Cherry Dream Bars
- Chocolate Cherry Cheesecake Bread Pudding
Don’t forget to come back tomorrow for more Christmas cookies! Plus, if you Pin or print this recipe for Cherry Pie Bars, you’ll have it ready to go to satisfy that cherry craving. See you next time!

FOLLOW ME
FACEBOOK ~ PINTEREST
INSTAGRAM ~ TWITTER
YOUTUBE
Keep an eye out for more of my easy recipes each week!
Want to Save This Recipe?
Enter your email & I’ll send it to your inbox. Plus, get great new recipes from me every week!
By submitting this form, you consent to receive emails from 365 Days of Baking and More.
Cherry Pie Bars
Ingredients
- ½ cup butter ,room temperature. I use salted
- ½ cup shortening
- 1 ¾ cups sugar
- 1 ½ teaspoons baking powder
- ½ teaspoon salt
- 3 large eggs
- 1 teaspoon pure vanilla extract
- 3 cups all-purpose flour
- 21 ounces cherry pie filling
Powdered Sugar Glaze
- 1 cup powdered sugar
- 1 tablespoon milk additional milk if needed, 1 teaspoon at a time
- ¼ teaspoon pure almond extract can substitute pure vanilla extract
Instructions
- Preheat oven to 350°F.
- In a large mixing bowl, cream the butter and shortening on high until smooth and well combined. Add the sugar, baking powder and salt, and completely combine. Be sure to scrape down the sides and bottom of the bowl.
- Add the eggs and vanilla and mix well. Add the flour and thoroughly combine. Set aside 1 1/4 cups of the dough for the topping.
- Press the remaining dough into an ungreased 9 X 13-inch baking pan. Bake for 12 minutes. The edges will be lightly golden, and the middle will be underdone, but not to worry, you're going to bake them again.
- Gently spread the cherry pie filling over the entire crust. Drop the remaining dough in mounds over the filling.
- Bake for about 30 minutes until golden brown. Place pan on a baking rack to cool for 10 minutes before glazing.
Powdered Sugar Glaze
- in a small bowl, mix together the powdered sugar, 1 tablespoon of milk, and 1/4 teaspoon almond or vanilla extract. If needed, add 1 teaspoon of milk until glaze is of a consistency where it can be drizzled.
- Using a spoon, evenly distribute the glaze over the top of the bars after they've sat for 10 minutes on the wire rack. Allow to cool completely before slicing into bars.

Comments & Reviews
Instead of putting a glaze over the top…couldn’t I just dust it with powdered sugar??
Ana Maria, you can definitely sprinkle powdered sugar over the top of it. I think that would be a nice touch!
Would it be possible to use all butter instead of the half cup of shortening?? Thank you!
Ana Maria, I haven’t made this recipe using only butter with no shortening. It can be done, but the flavor and texture will change.
If you do use just the butter, I’d love for you to come back and leave a comment letting us know how they turned out as others may want to do the same.
Can the dough be made in advance and frozen to be baked at a later date? Thank you!
Anna Marie, you can do that! Wrap it tightly in plastic wrap and then in aluminum foil. Place it into the refrigerator to thaw overnight before using. Enjoy them!